Activity: Survey


To gather information from your participants – whether it’s collecting feedback at the end of a course or requesting preliminary information – Moodle has always offered the ‘Feedback’ activity. We have decided to make the ‘Survey’ activity available to you as well.

The Survey activity offers you more options for designing surveys. For example, you can set time limits for survey participation or ask conditional questions. 

We will show you how the activity works in this guide. However, as the activity offers many different customisation options, we cannot cover every possible scenario; instead, we will use a selected brief example to demonstrate how it works in general.

Target Group
Lecturers

Objectives
Communicate & Interact

Moodle Version
Article based on the Moodle version 4.1

Author
Kathrin Osswald
kiz - Information Systems Department
Research & Educational Services Team

Kristina Busch
ZLE - Center for Teaching Development

Context
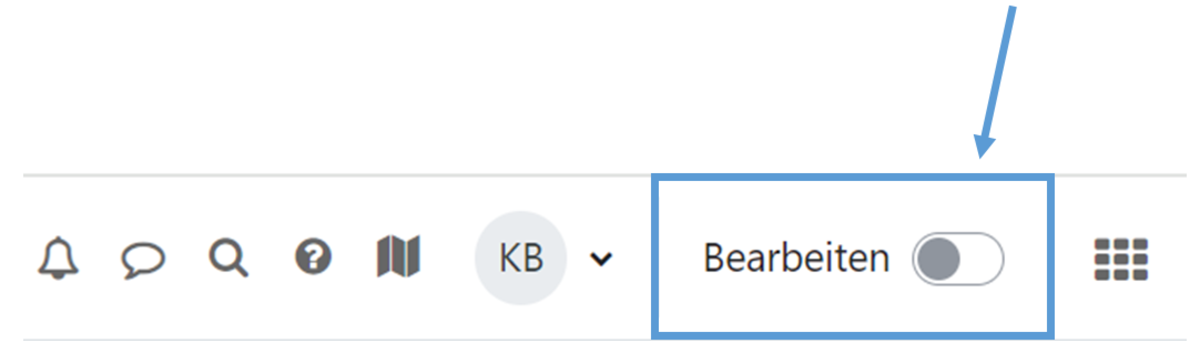
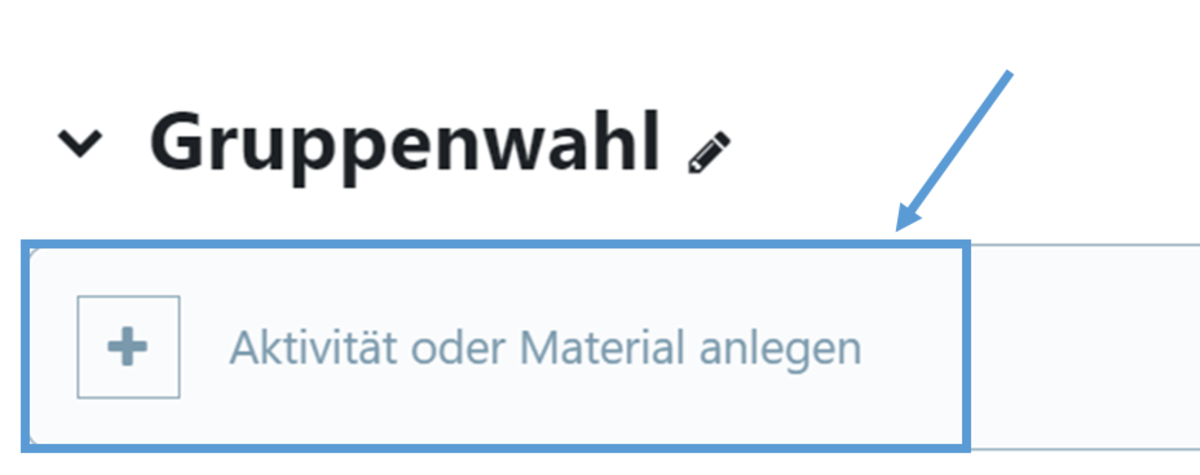
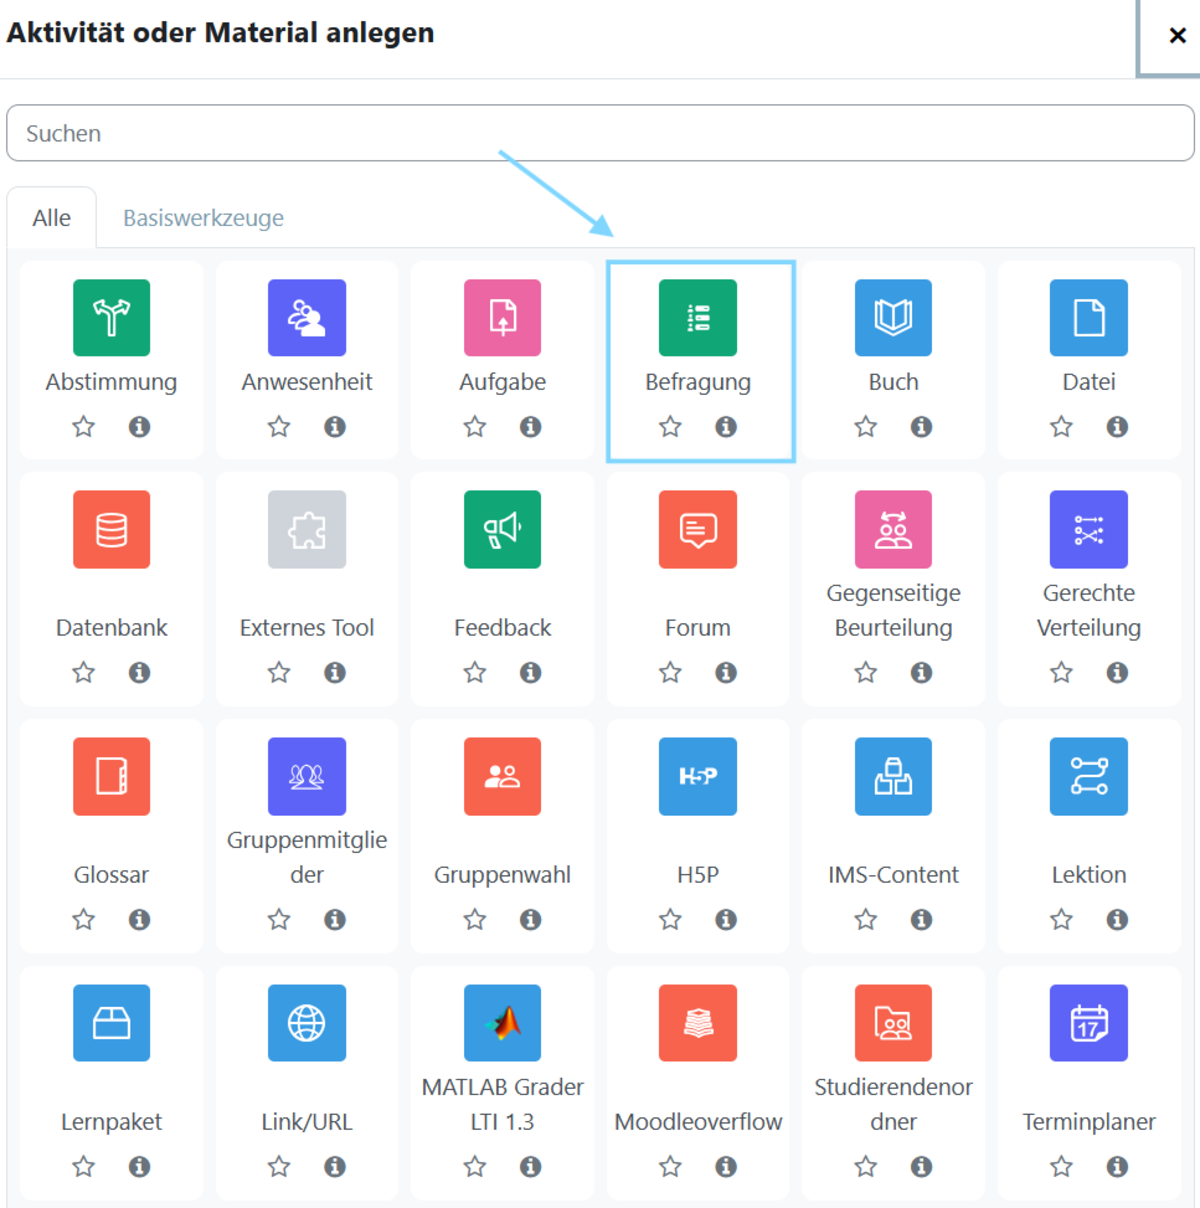
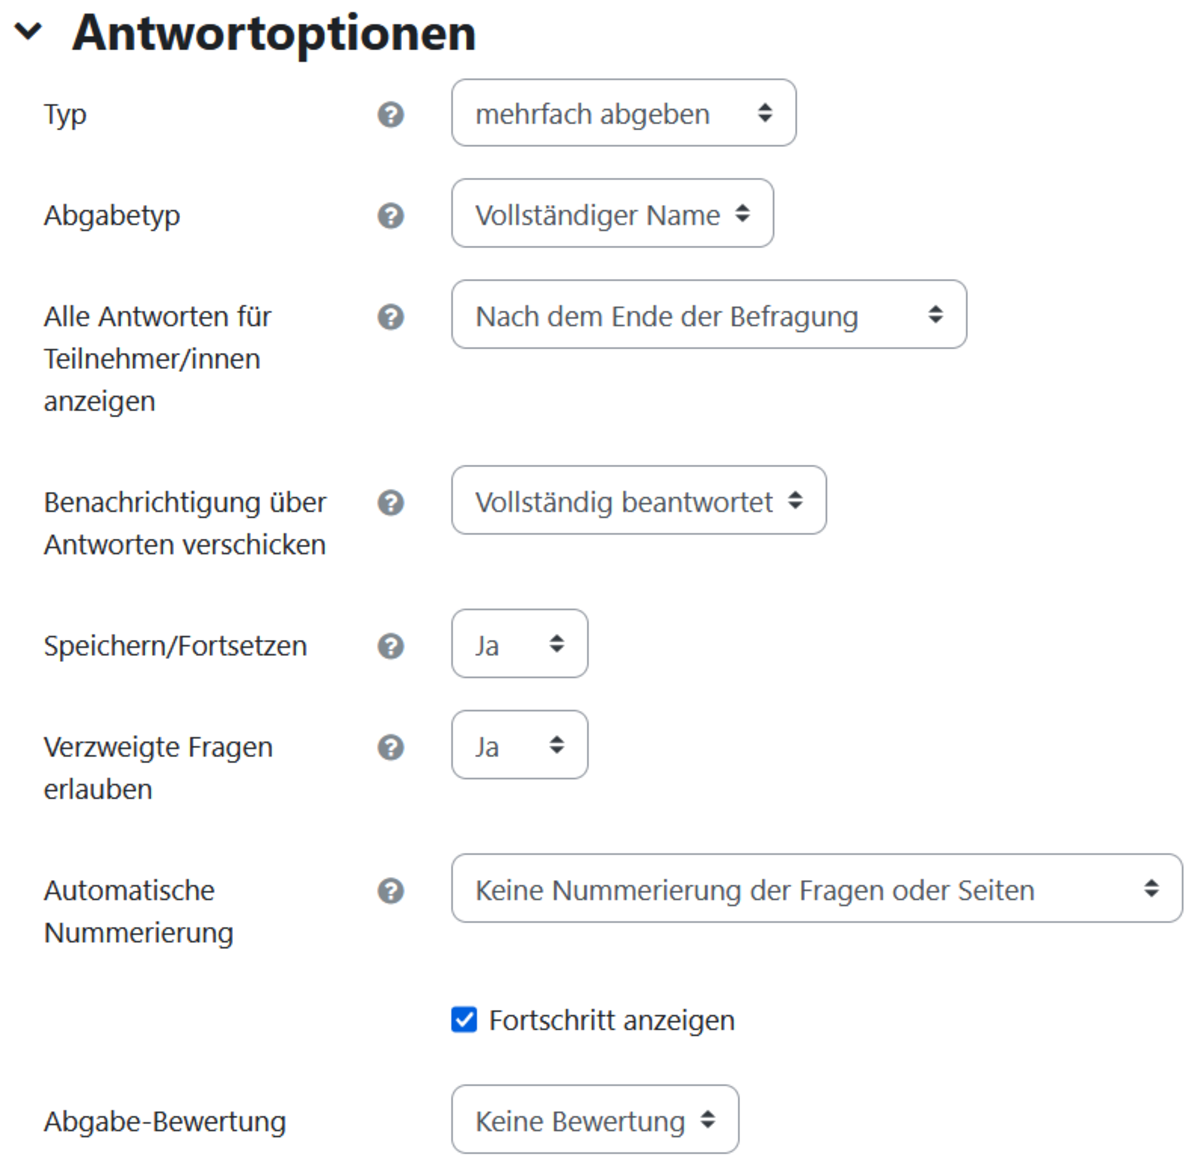
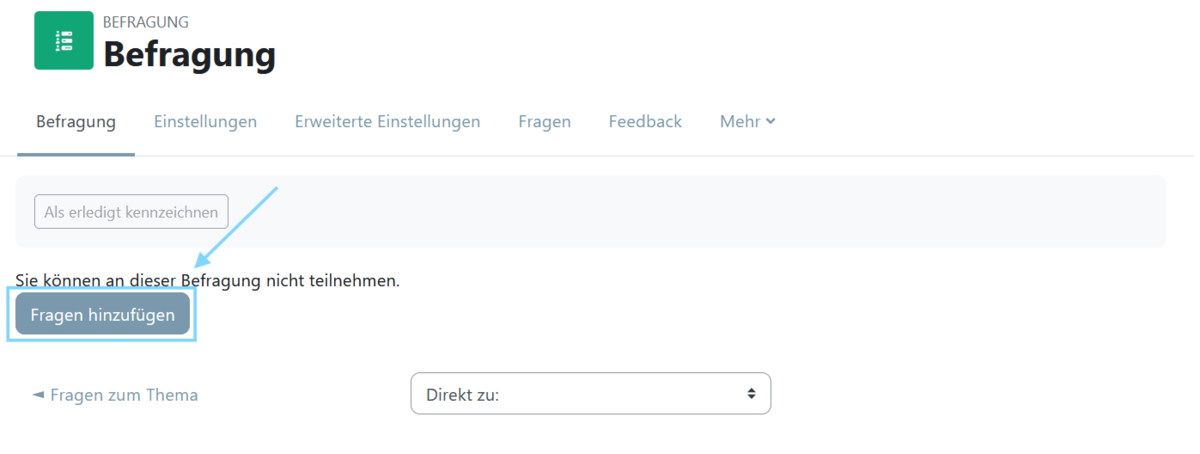
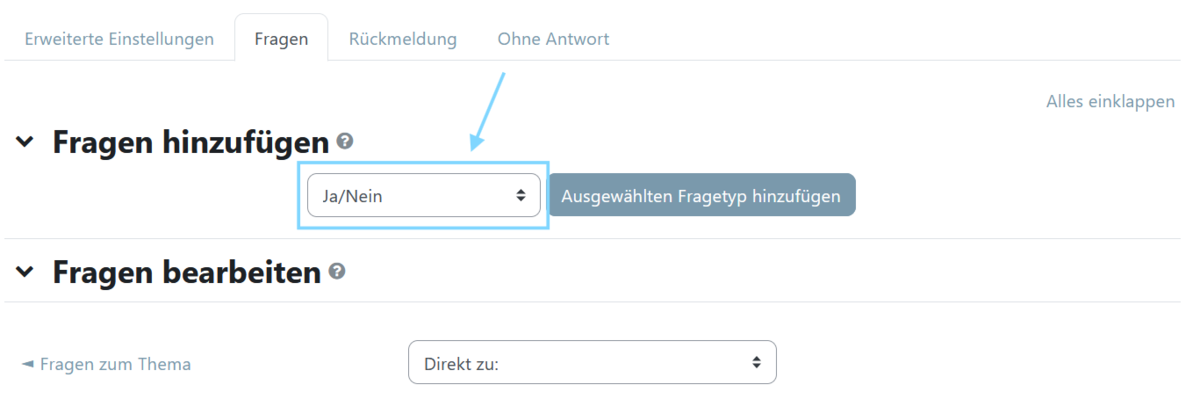
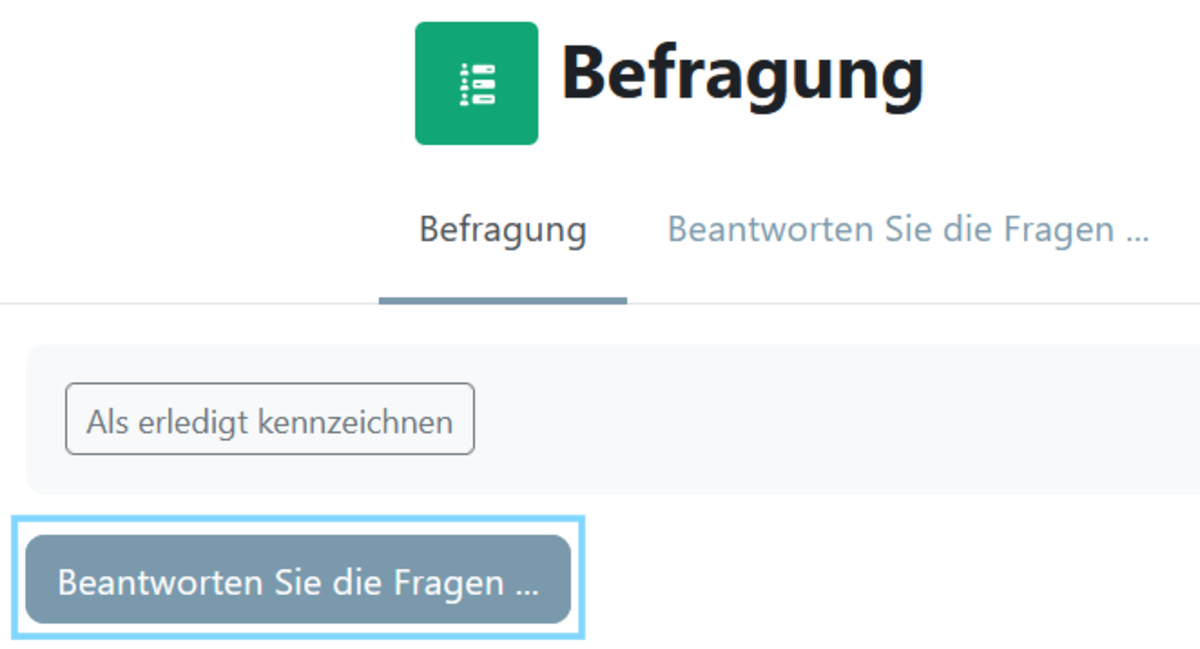
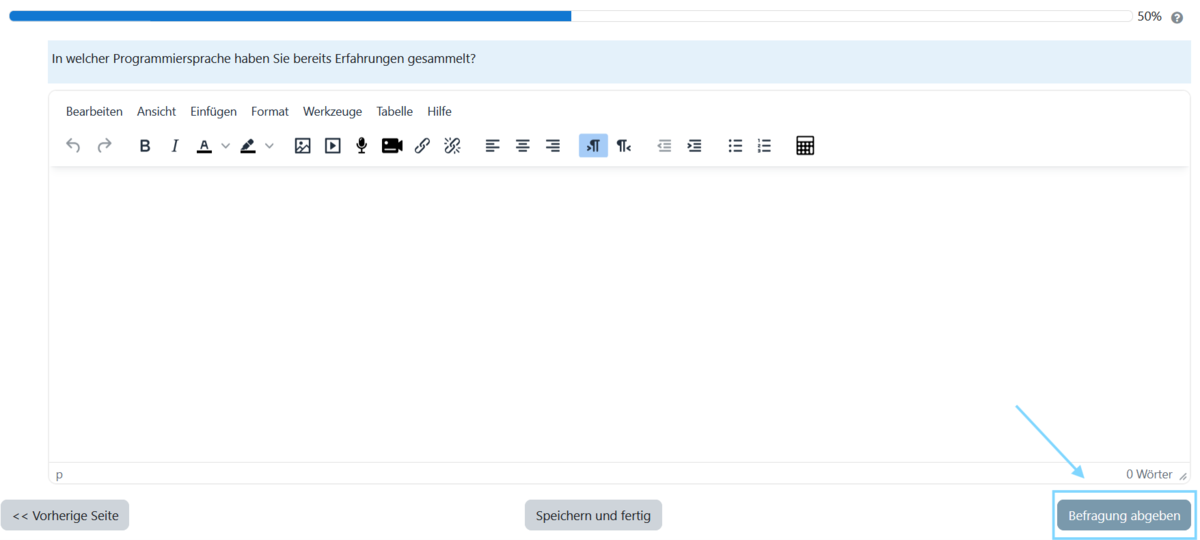
Activities & Materials > Survey

License
This article is licensed under a Creative Commons license. All information about the license

Prerequisite: Edit mode

To add the activity to your course, please switch the course to edit mode by clicking the button to the right of ‘Edit’ in the header (Fig. 1).

Figure 1

Create a survey

Then, in the section to which you wish to add the activity, click on ‘Create materialor ‘Create activity’. (Fig. 2)

In the window that opens, select the Survey option and then click Add (Fig. 3).

Figure 2
Figure 3

Set preferences

A new page will then open where you can configure the settings for the activity. In addition to the required ‘Name’ field, there are further configuration options; of particular interest are some of the settings in the ‘Response options’ section (Fig. 4)

Type

Here you can specify whether students can complete the survey once, daily, weekly, monthly or as often as they like.
In our example, we have selected ‘multiple submissions’.

Output type

Here you can choose whether the survey results are submitted anonymously or with personal details. You can display the full names of the respondents for each response if you set this option to "with names". You can hide the respondents' identities if you set this option to "anonymous". In our example, we have selected "full name".

Save / Continue

If this option is enabled, respondents can save their survey responses before submitting them. This allows them to leave the survey unfinished and return to their saved progress at a later time. We demonstrate this in the section ‘Survey from the respondent’s perspective’.

Allow nested questions

Enable this option so that, depending on the answers given, yes/no questions, radio button questions and multiple-choice questions can make further questions visible or hidden.

Once you have selected the settings to your liking, click Save and display

Figure 4

Create a survey

After clicking ‘Save and view’, you will be taken to the survey page. As the activity has just been created, no questions have been added yet. To add questions, click the ‘Add questions’ button (Fig. 5)

You will then be taken to a drop-down menu where you can first select the question type and then generate a new instance by clicking the ‘Add selected question type’ button (Fig. 6)

A new page will then appear with a form allowing you to add content for the question type. If you have already created several questions, you can make the display and queries conditional on the answers to previous questions.

In our example, we want to assess students’ prior knowledge of programming languages. To do this, we first ask a “Yes/No” question to determine whether they have any experience at all with a specific programming language. If not, the students answer “No” and proceed to the next question. Only if they indicate that they have experience is it necessary for them to rate their experience more precisely using a scale.

You select this condition in the "Dependencies" section. Under "Parent question", select the question and, in the "This answer given" dropdown, select the answer so that this question appears (Fig. 7).

  In our example, the answer to the question ‘HTML knowledge’ must therefore be ‘Yes’ for the scale question to appear. Once
you have created all your questions, the survey can be answered by the students.

Figure 5
Figure 6
Figure 7

Taking part in a survey (from a student's perspective)

If I wish to take part in a survey as a participant in my course, I select the relevant activity within the course and am taken to the corresponding survey, which I can start by clicking the ‘Start survey’ button (Fig. 8).

I am then presented with the questions, which I can answer one by one (Fig. 9).

If the "Save / Continue" option has been set in the activity, I can click the "Save and finish" button and will then receive confirmation that my progress up to that point has been saved (Fig. 9).

If I return to the survey at a later time, I can simply continue by clicking the ‘Next Page’ button (Fig. 9)

Once I have reached the end of the survey, I am informed that I have answered all the questions and can submit them for evaluation by clicking the ‘Submit survey’ button (Fig. 10).

Figure 8
Figure 9
Figure 10

Help, questions, suggestions

If you need further help* on this topic, have any questions or suggestions, please feel free to contact us at any time!

*Haveyou already thought about looking for help or a solution in our help pages on these pages or in the Moodle documentation (see above or https://docs.moodle.org/)?

Lizenz

Creative Commons License Agreement
Texts and images in this article are licensed under the Creative Commons license CC BY 4.0

Attribution for further use:
"Activity Survey" by Kathrin Osswald and Kristina Busch (University of Ulm), licensed under CC BY 4.0